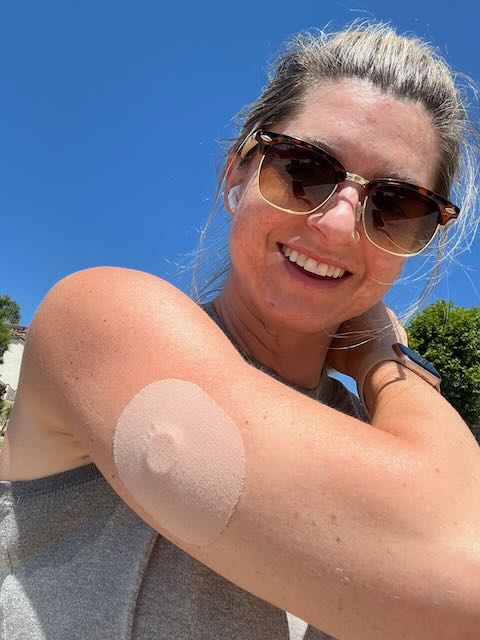
If you just got a CGM you might be wondering how is a continuous glucose monitor inserted?
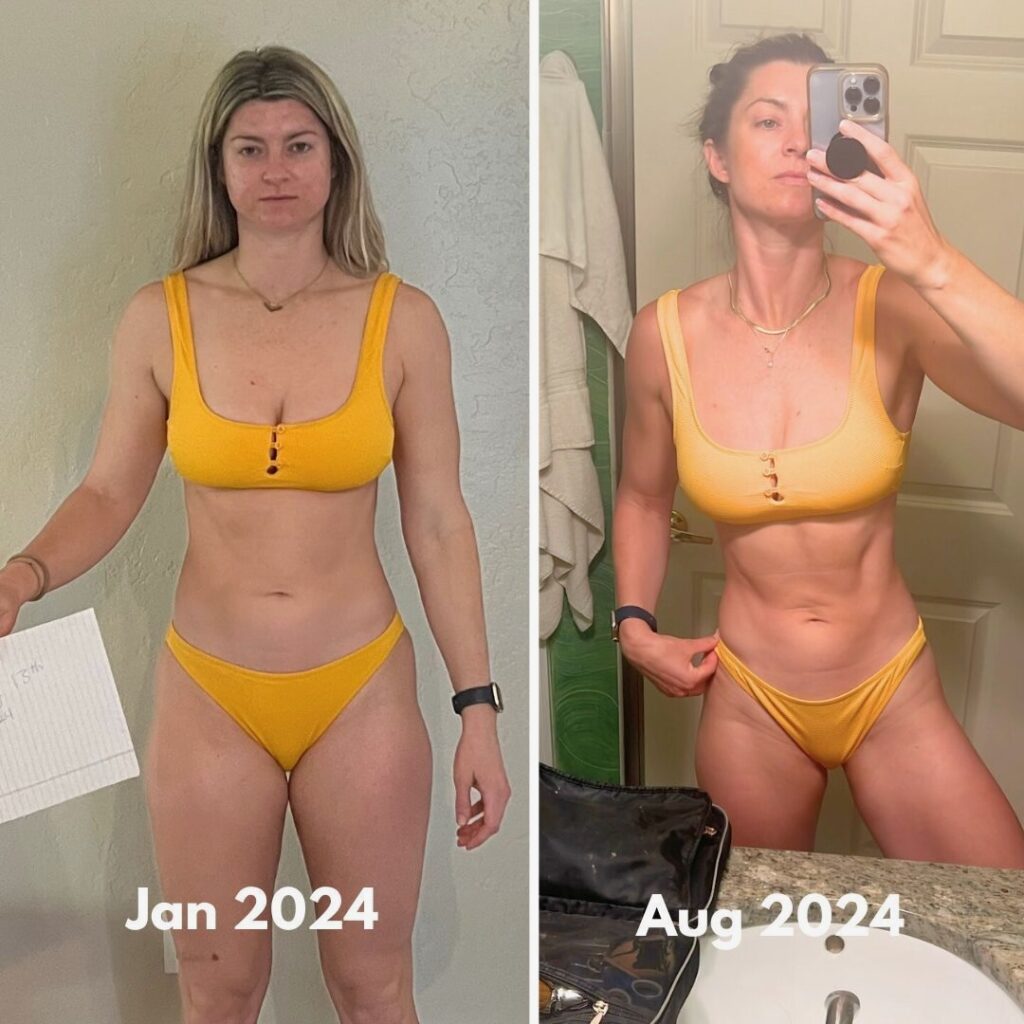
Continuous Glucose Monitors (CGMs) have revolutionized diabetes management, providing real-time insights into blood sugar levels. But they aren’t for diabetics anymore. Everyday proactive health seekers are using these devices as a preventative measure to reverse pre-diabetes, lose excess weight, have balanced energy, and get better sleep.
If you’re new to CGMs or curious about the insertion process, you’ve come to the right place. In this blog post, we’ll walk you through the steps of how a continuous glucose monitor is inserted, and answer some commonly asked questions on Google.
My favorite brand (and most cost effective I’ve found) is Theia Health.

What is a Continuous Glucose Monitor (CGM) and Why Use It?
Answer: A CGM is a small wearable device that continuously measures glucose levels in the interstitial fluid. It consists of a tiny sensor and a transmitter. Many individuals with diabetes choose CGMs because they offer frequent updates on glucose levels, helping them make more informed decisions about insulin dosing, diet, and lifestyle.
Related: How Long Should You Be in a Calorie Deficit
Is Inserting a Continuous Glucose Monitor Painful?
Answer: The insertion process is typically painless or causes minimal discomfort. The CGM sensor is inserted just beneath the skin’s surface using an automatic applicator or a manual insertion device. Most users report only feeling a brief sensation, similar to a slight pinch.
Here’s a video to walk you through
How is a continuous glucose monitor inserted
Step-by-Step Guide on How to Insert a Continuous Glucose Monitor
Answer:
- Preparation: Before starting, ensure you have a new CGM sensor, alcohol wipes, and adhesive patches for securing the sensor in place.
- Clean the Area: Choose a clean, dry area for sensor placement (commonly the abdomen or upper arm). Cleanse the site with an alcohol wipe and let it dry.
- Sensor Unwrapping: Unpack the CGM sensor from its packaging, being careful not to touch the adhesive.
- Sensor Placement: Remove the protective backing from the adhesive side of the sensor. With the applicator or manual device, gently insert the sensor’s needle at a 45-degree angle into the selected area.
- Confirm Insertion: The sensor’s needle will retract, leaving the tiny sensor wire beneath the skin. Make sure it is properly placed to ensure accurate readings.
- Transmitter Attachment: Once the sensor is inserted, attach the transmitter to the sensor. This component communicates with the sensor to collect glucose data.
- Securing the Sensor: Use the adhesive patches to secure the sensor and transmitter in place. Be sure not to obstruct the sensor or transmitter’s contact points.
- Activation and Calibration: Follow the manufacturer’s instructions to activate the CGM and perform initial calibration (if required). This process typically takes a couple of hours.
- Regular Replacement: Depending on the CGM model, sensors may need replacement every few days to one or two weeks.
How Long Does It Take to Get Accurate Readings?
Answer: It usually takes a few hours after the initial insertion for the CGM to provide accurate readings. Some systems may require calibration during this period to fine-tune accuracy. Always follow the manufacturer’s guidelines for calibration.
Can I Shower or Swim with a Continuous Glucose Monitor?
Answer: Yes, most CGMs are water-resistant and designed to withstand activities like swimming and showering. However, it’s essential to check the specific model’s water-resistance rating to ensure it suits your needs.
Get your own CGM (no prescription needed) here
Conclusion
Inserting a continuous glucose monitor is a straightforward process that empowers individuals with or without diabetes to manage their health more effectively. Remember to consult your healthcare provider before starting or making any changes to your diabetes management plan. With a CGM providing valuable insights, you can take charge of your health and make informed decisions for a better life with diabetes.


Leave a Reply